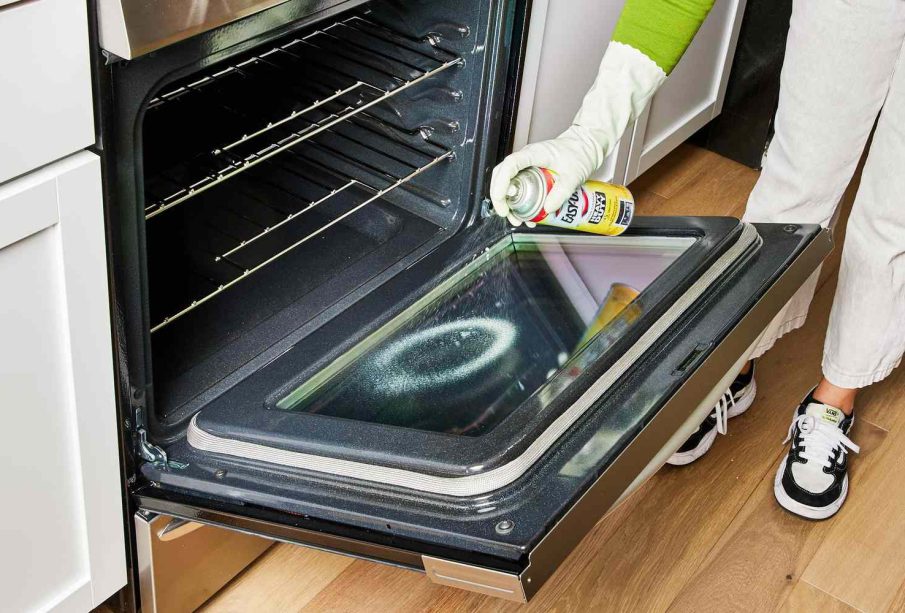
How to Clean an Oven Door Seal Without Damaging It

Let’s face it, this component is doing more than meets the eye. It keeps the heat locked in, helps meals cook evenly, and stops your oven from guzzling extra energy. Let your maintenance slip, and suddenly things take longer to bake, and the power bill gets a bit higher.
A dirty or damaged seal can also trap smells and germs. So, keeping it clean is not just about looks. It’s about saving money and avoiding trouble.
Luckily, it’s simpler than expected, and no special gear is required. It’s just a straightforward method that gets results without ruining the seal or making a bigger mess.
Let’s begin!
Determine The Seal’s Material
Before reaching for a cleaning solution, pause to check the seal’s material. This small step reveals what the seal can withstand and guides how to clean an oven door without causing damage.
Some seals feel soft and stretchy—that’s rubber. Some are stiffer and have a smooth, almost glassy feel, which typically points to silicone, known for handling heat far better than rubber.
Every so often, you’ll come across a fabric-like type that’s more uncommon, with a surface that resembles a dense, tightly woven textile.
Telling one from the other isn’t just a detail, because each kind calls for its own cleaning approach.
Using the wrong method can do real damage, so glossing over this part could leave you worse off than before.
Rubber seals, in particular, can end up brittle or split when neglected. Silicone could lose its grip or flexibility. Fabric soaks in moisture and gets mouldy fast. So, a quick check now helps avoid a big mess later and keeps the seal doing its job.
If there’s ever any doubt, getting a professional oven cleaning service is the safest option.
They will identify the material and choose the most effective method to clean it without risking damage. This takes the guesswork out of the process, so nothing gets scratched, dried out, or warped.
Gather Safe Cleaning Supplies
Once the seal type is clear, get what you need to clean it. It doesn’t take much, ideally, you’ll just need a soft cloth. Microfibre works best as it lifts dirt without scratching anything or leaving lint.
For tight creases and corners, go with a soft brush. An old toothbrush works, as its small bristles reach inside those creases without tearing the seal or spreading dried food bits around.
Additionally, ditch harsh sprays and stick with simple, safe options like baking soda, white vinegar, or lemon juice.
Each one serves a purpose. Baking soda scrubs off the gunk without a fuss, vinegar dissolves residue and grease, and lemon juice cuts through buildup while leaving a fresh scent.
Create Your Own Cleaning Solution
Making a DIY cleaner at home saves money and keeps harsh fumes away. It’s better for the oven and better for the indoor air and the environment.
However, before scrubbing, get rid of dry crumbs and dust. This makes a big difference. If left behind, loose debris mixes with cleaner and spreads more grime around. Wipe with a soft, dry cloth to gently sweep the seal. A small vacuum with a brush tool works well, too.
Mix up a simple paste by combining about two tablespoons of baking soda with just enough water to make it thick like toothpaste. This eco-friendly blend goes after grease and grime without putting the seal at risk.
Next, make a quick vinegar spray. Pour one part vinegar, two parts water, straight into a spray bottle.
These mixtures pack enough punch to clean things up without causing harm.
Apply the Cleaning Solution Properly
With the loose gunk gone, it’s time to use the paste. Dip a soft cloth or sponge into the baking soda mix and press it gently into the seal. There’s no need to scrub hard. Let the paste sit for a few minutes to do the work.
If there are tough spots, use a toothbrush. Work the paste in circles, but go easy. Scrubbing too hard can mess with the shape or flexibility of the seal. Keeping the pressure light gives the cleaner time to work and protects the material.
Spread the paste evenly and let it sit for 15 to 20 minutes. This pause allows it to break down sticky buildup and soften grease, making the next step a breeze.
If the seal is especially dirty, wait a little longer, but don’t let the paste dry completely. Keep the oven door slightly open to allow air to circulate and prevent the cleaner from hardening too quickly.
This sitting time saves effort later. It breaks down gunk, reducing the need for scrubbing, which is exactly what helps avoid seal damage.
Rinse Everything Off Properly
After the cleaner does its job, rinse thoroughly. Use a clean cloth dipped in warm water and wipe every part of the seal. Rinse the cloth often to avoid spreading grime back around.
Still seeing baking soda stuck in spots? Dampen the cloth with vinegar to cut through it. Start at the top and work down to cover the whole area.
Once clean, dry the seal with a fresh towel. Press gently instead of rubbing hard. A few pats soak up most of the moisture. After that, leave the oven door slightly open, warding off musty odours or mildew growth.
Keeping the seal in good shape starts with a quick wipe after every use, especially if there’s been a spill. That simple step stops messes from setting in. Then, once a month, go in for a deeper clean to keep the grime from stacking up and turning into a bigger problem.
Conclusion
A well-kept oven seal holds in the heat, keeps the odours from spreading, and helps the oven work the way it’s supposed to.
Remember, even a small effort can make a big difference and pay off in the long run. So give your door seal the attention it deserves and help the oven stay efficient and clean.
Happy cooking!


